
Getting Started with Latin Adjectives
Read moreLatin Study Boards
Want to make learning Latin a little less overwhelming? Here's an idea: Latin Study Boards! Latin Study Boards take the elements of each lesson needed for memorization and posts them readily in front of the student. No more stalling to remember that vocabulary word or struggling to look up that grammar rule in the book. Having that information readily available, posted in front of the student, means they can reference the information and actually memorize the information more quickly.

Classical Conversations offers a Latin Trivium Table that has handy charts for endings and whatnot. It is VERY thorough with lots of information. Really great if you already know what you are doing but totally overwhelming if you don't.
I have found it much more effective to build your board as you go

This shows a Latin Study Board with all the charts and vocabulary lists used for the year in Challenge A or Units 1, 2 and 3 of Henle First Year Latin.
You could absolutely make one of these on your own! There are only two steps.
FIRST STEP - Decide the base for your board. You have several options.
The easiest option: purchase one outright. Look on Amazon. Search for “Privacy Shield,” “Privacy Partition,” “Study Carrel,” but they are usually pretty pricey.
The cheapest option: go to the Dollar Store and look for a ready-made tri-fold board or "project board" and cut it in half. The Dollar Store tri-fold boards tend to be smaller (20 x 27 when folded in.) Michael's or other craft store suppliers carry larger tri-fold boards (24 x 36) which work if you only keep them at home, but get a little bulky for transport. (Come on. You know sometimes you've got to do Latin in the car, or over at a friend's house, or at grandmas. Take your board with you.)
The crafty option: make your own. You could make your own out of a piece of foam core or regular old cardboard and duct tape. I have seen boards made out of three manilla folders too, which is probably the most portable, but also a little flimsy. (Watch for another post on the HOW TOs for both of these options.)
SECOND STEP - Just start adding charts and information. I recommend using one small piece of regular ole scotch tape so that you can move things around as needed. A chart of noun endings and a vocabulary list are a great place to begin. You could just post a simple piece of notebook paper and add to your list for vocab as you go. Eventually you may need to re-work some things, but that just means an opportunity to copy and review, right?
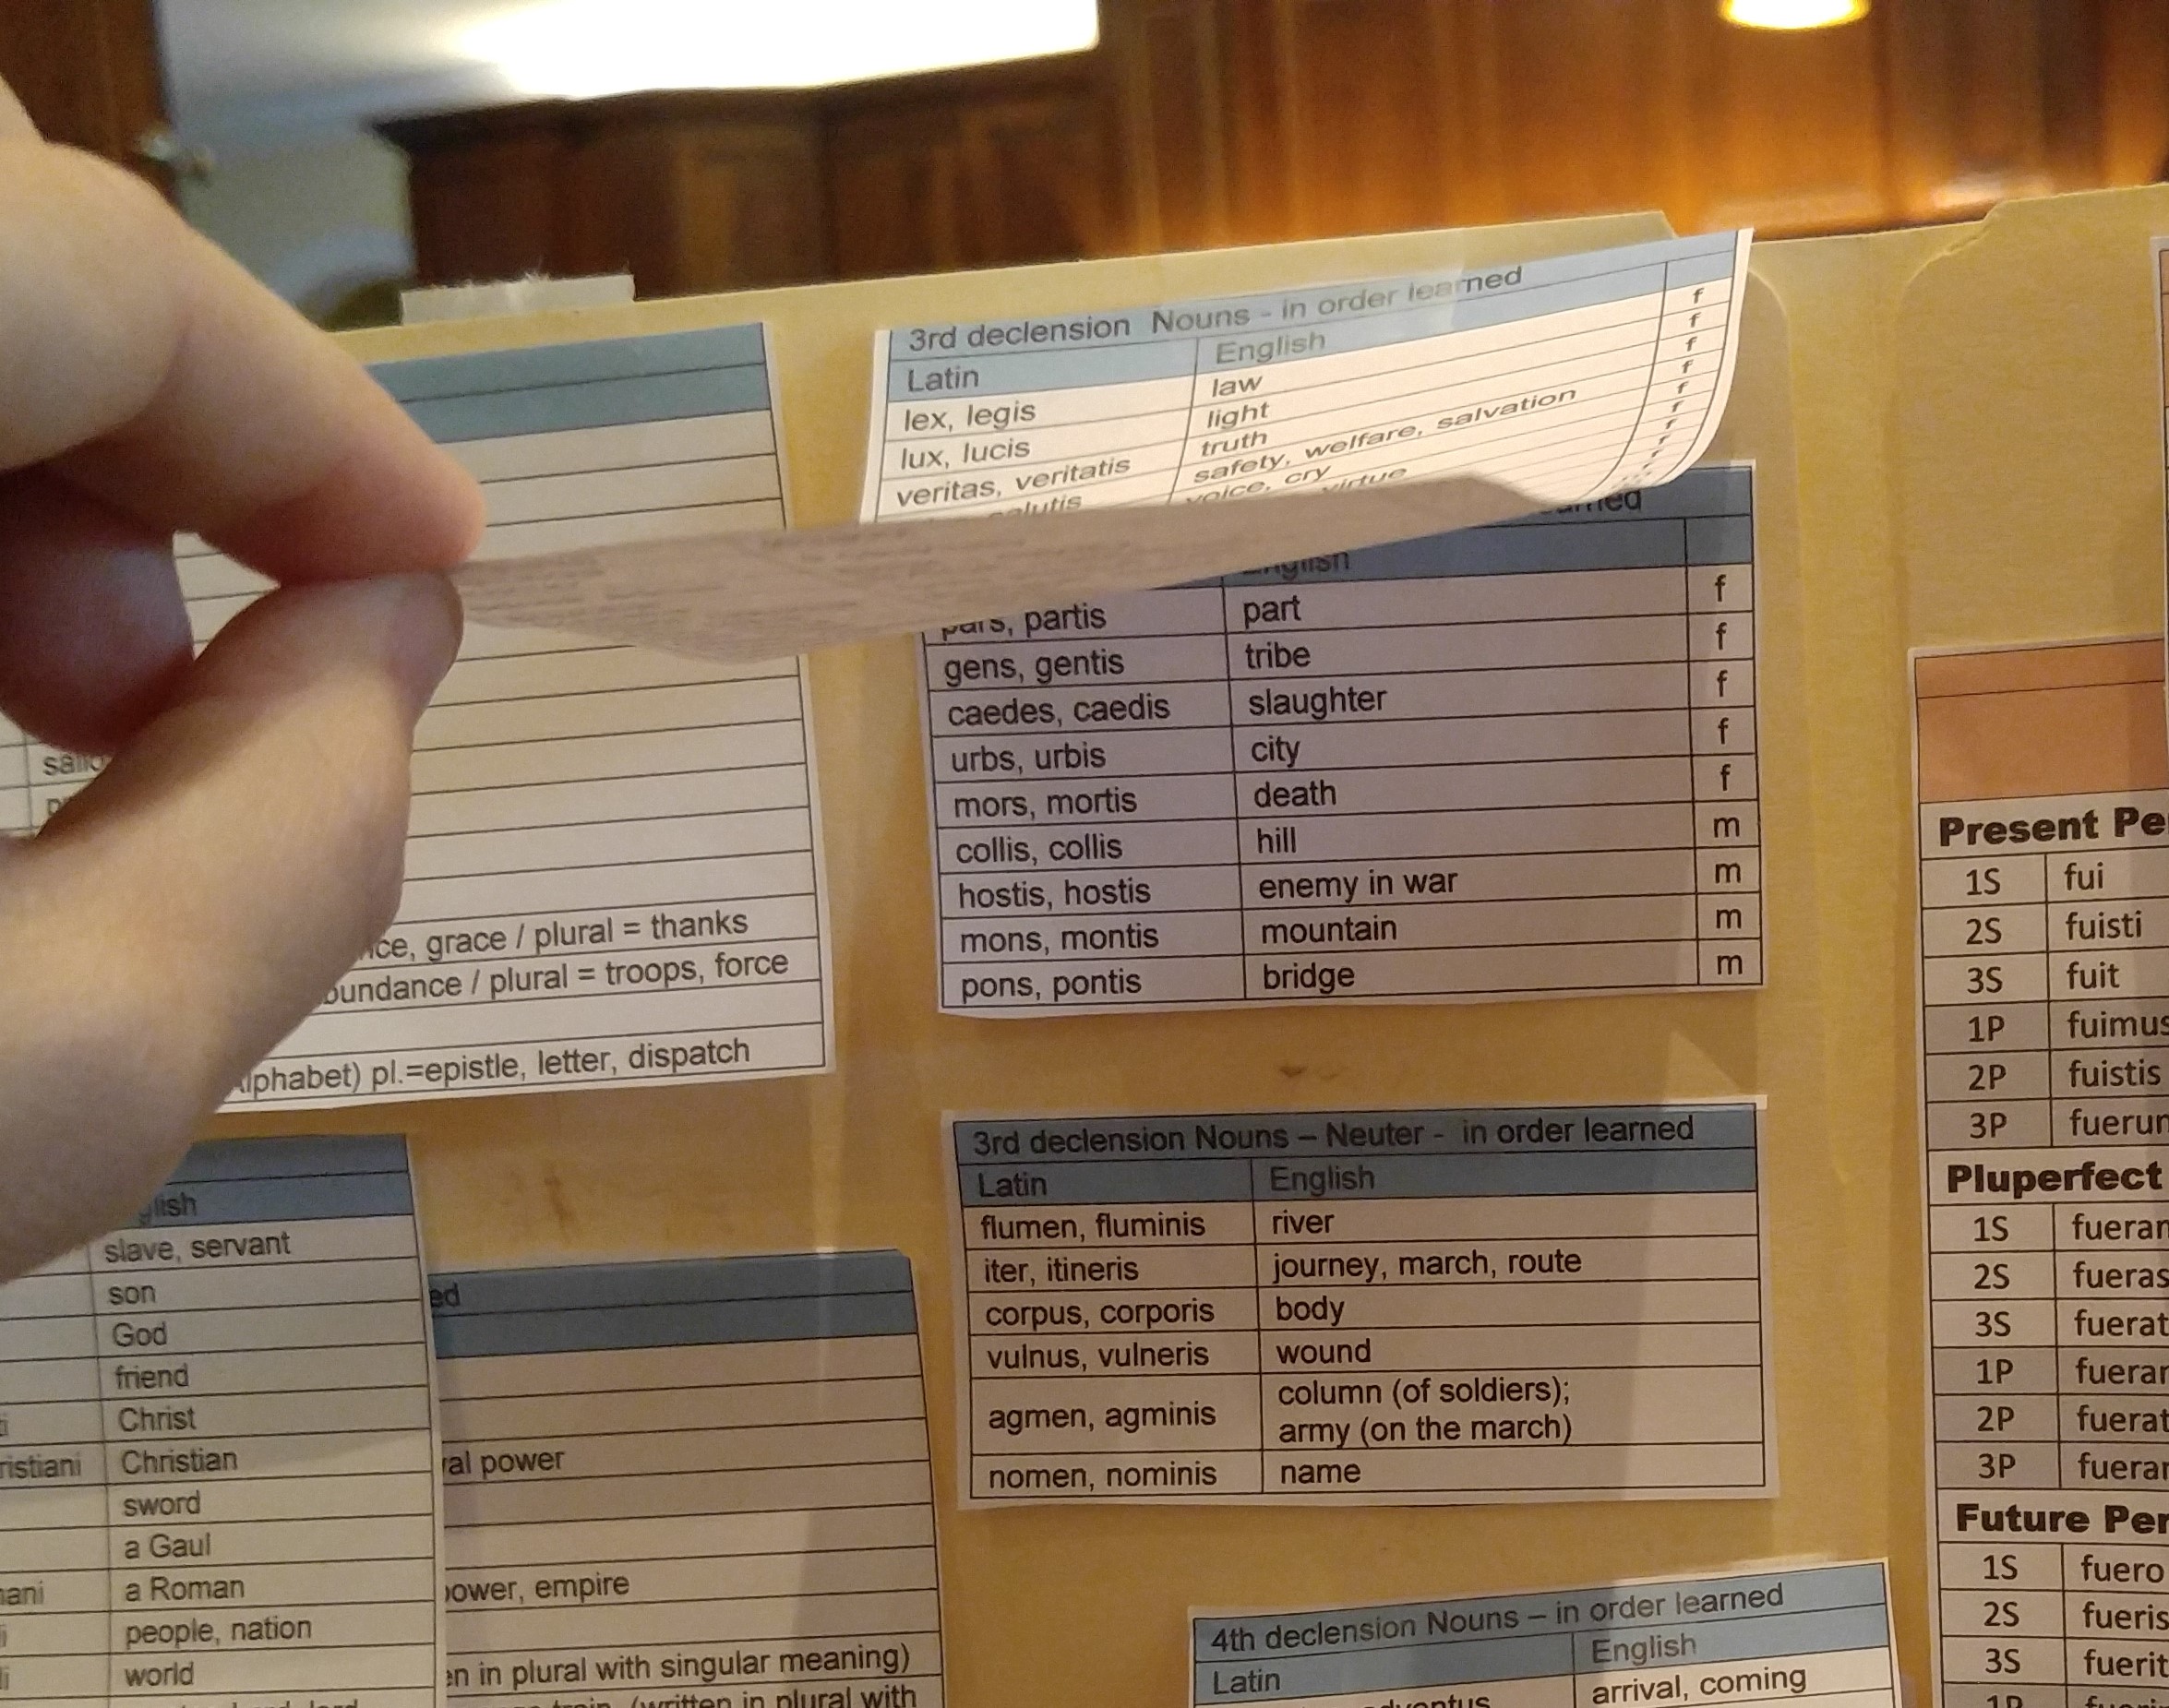
If you run out of room, just layer the charts over one another.
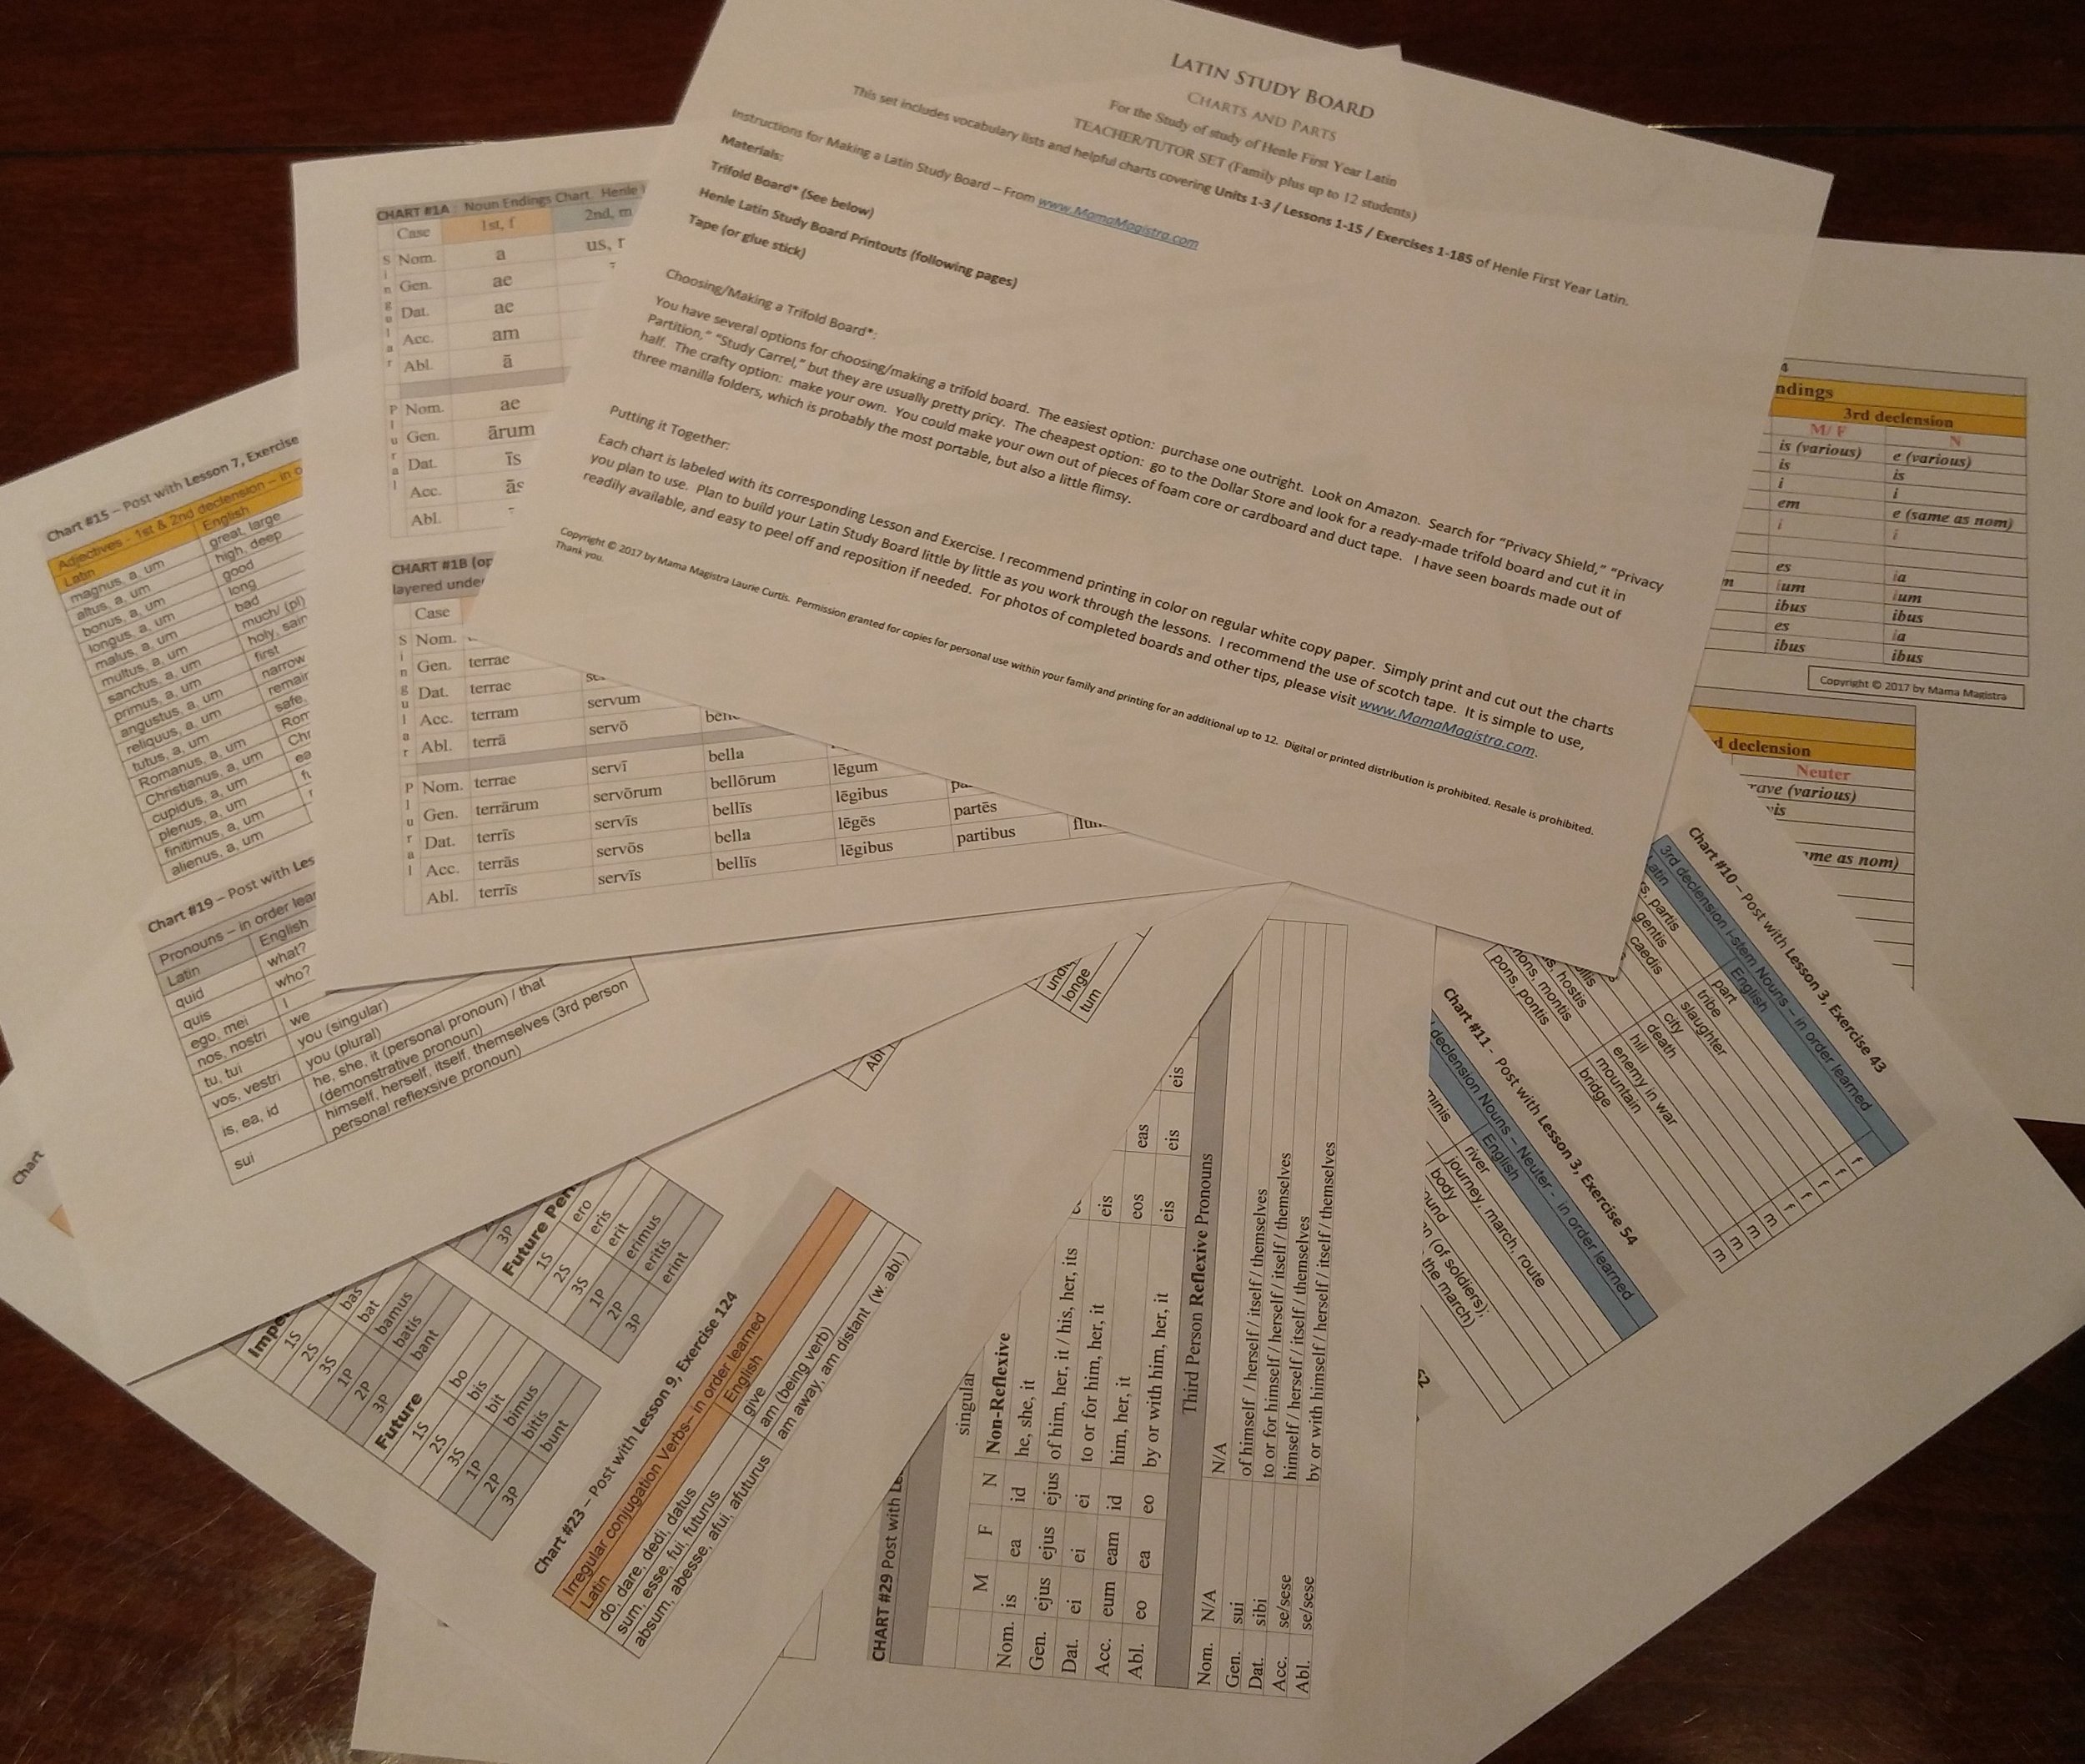
In my shop, I offer a Latin Study Board set of "Charts and Parts" that cover Units 1, 2, and 3 of Henle First Year Latin. 13 pages total. This is the equivalent of the entire Challenge A year of Classical Conversations (and therefore also approximately the first semester of Challenge B.) Each chart is labeled with its corresponding Lesson and Exercise.
You could print these out and have your student add them to their boards as you go along. Or you could use these as a reference for yourself, as a template for the student to make their own charts and lists.
This idea transfers to all other subjects and curricula. I bet younger bothers and sisters will want to make their own Study Boards. Fantastic for anything you want to memorize or reference easily. Please share with me, if you make one. I would love to hear about your success.
Make a Latin Noun Endings Practice Chart with Velcro

I made this Latin Nouns Endings Practice Chart many years ago and thought you might like in on the fun. It is very durable and can be used many different ways. I have very fond memories of using it in several different ways in both Foundations and Challenge groups as a fun practice or review tool in Classical Conversations.

Materials needed:
Foam Core (I used a 20 x 30 piece)
Spray adhesive or Rubber Cement
Velcro (I used 2 inch wide Industrial Strength from Walmart. Adhesive backed.)
Blank and Filled-in Charts and list of endings. (Provided below. You're welcome!)
Lamination if desired
Scissors
Directions:
First, gather your materials and print out the charts and endings. You can come up with the charts and endings on your own - or let me do the work for you. Go to my shop and download charts and endings FOR FREE!
Next, have the Blank Chart enlarged at a copy center. Make sure it fits on your board, but does not fill it. You want some room around the edges to hold the ending pieces when they are not on the chart.
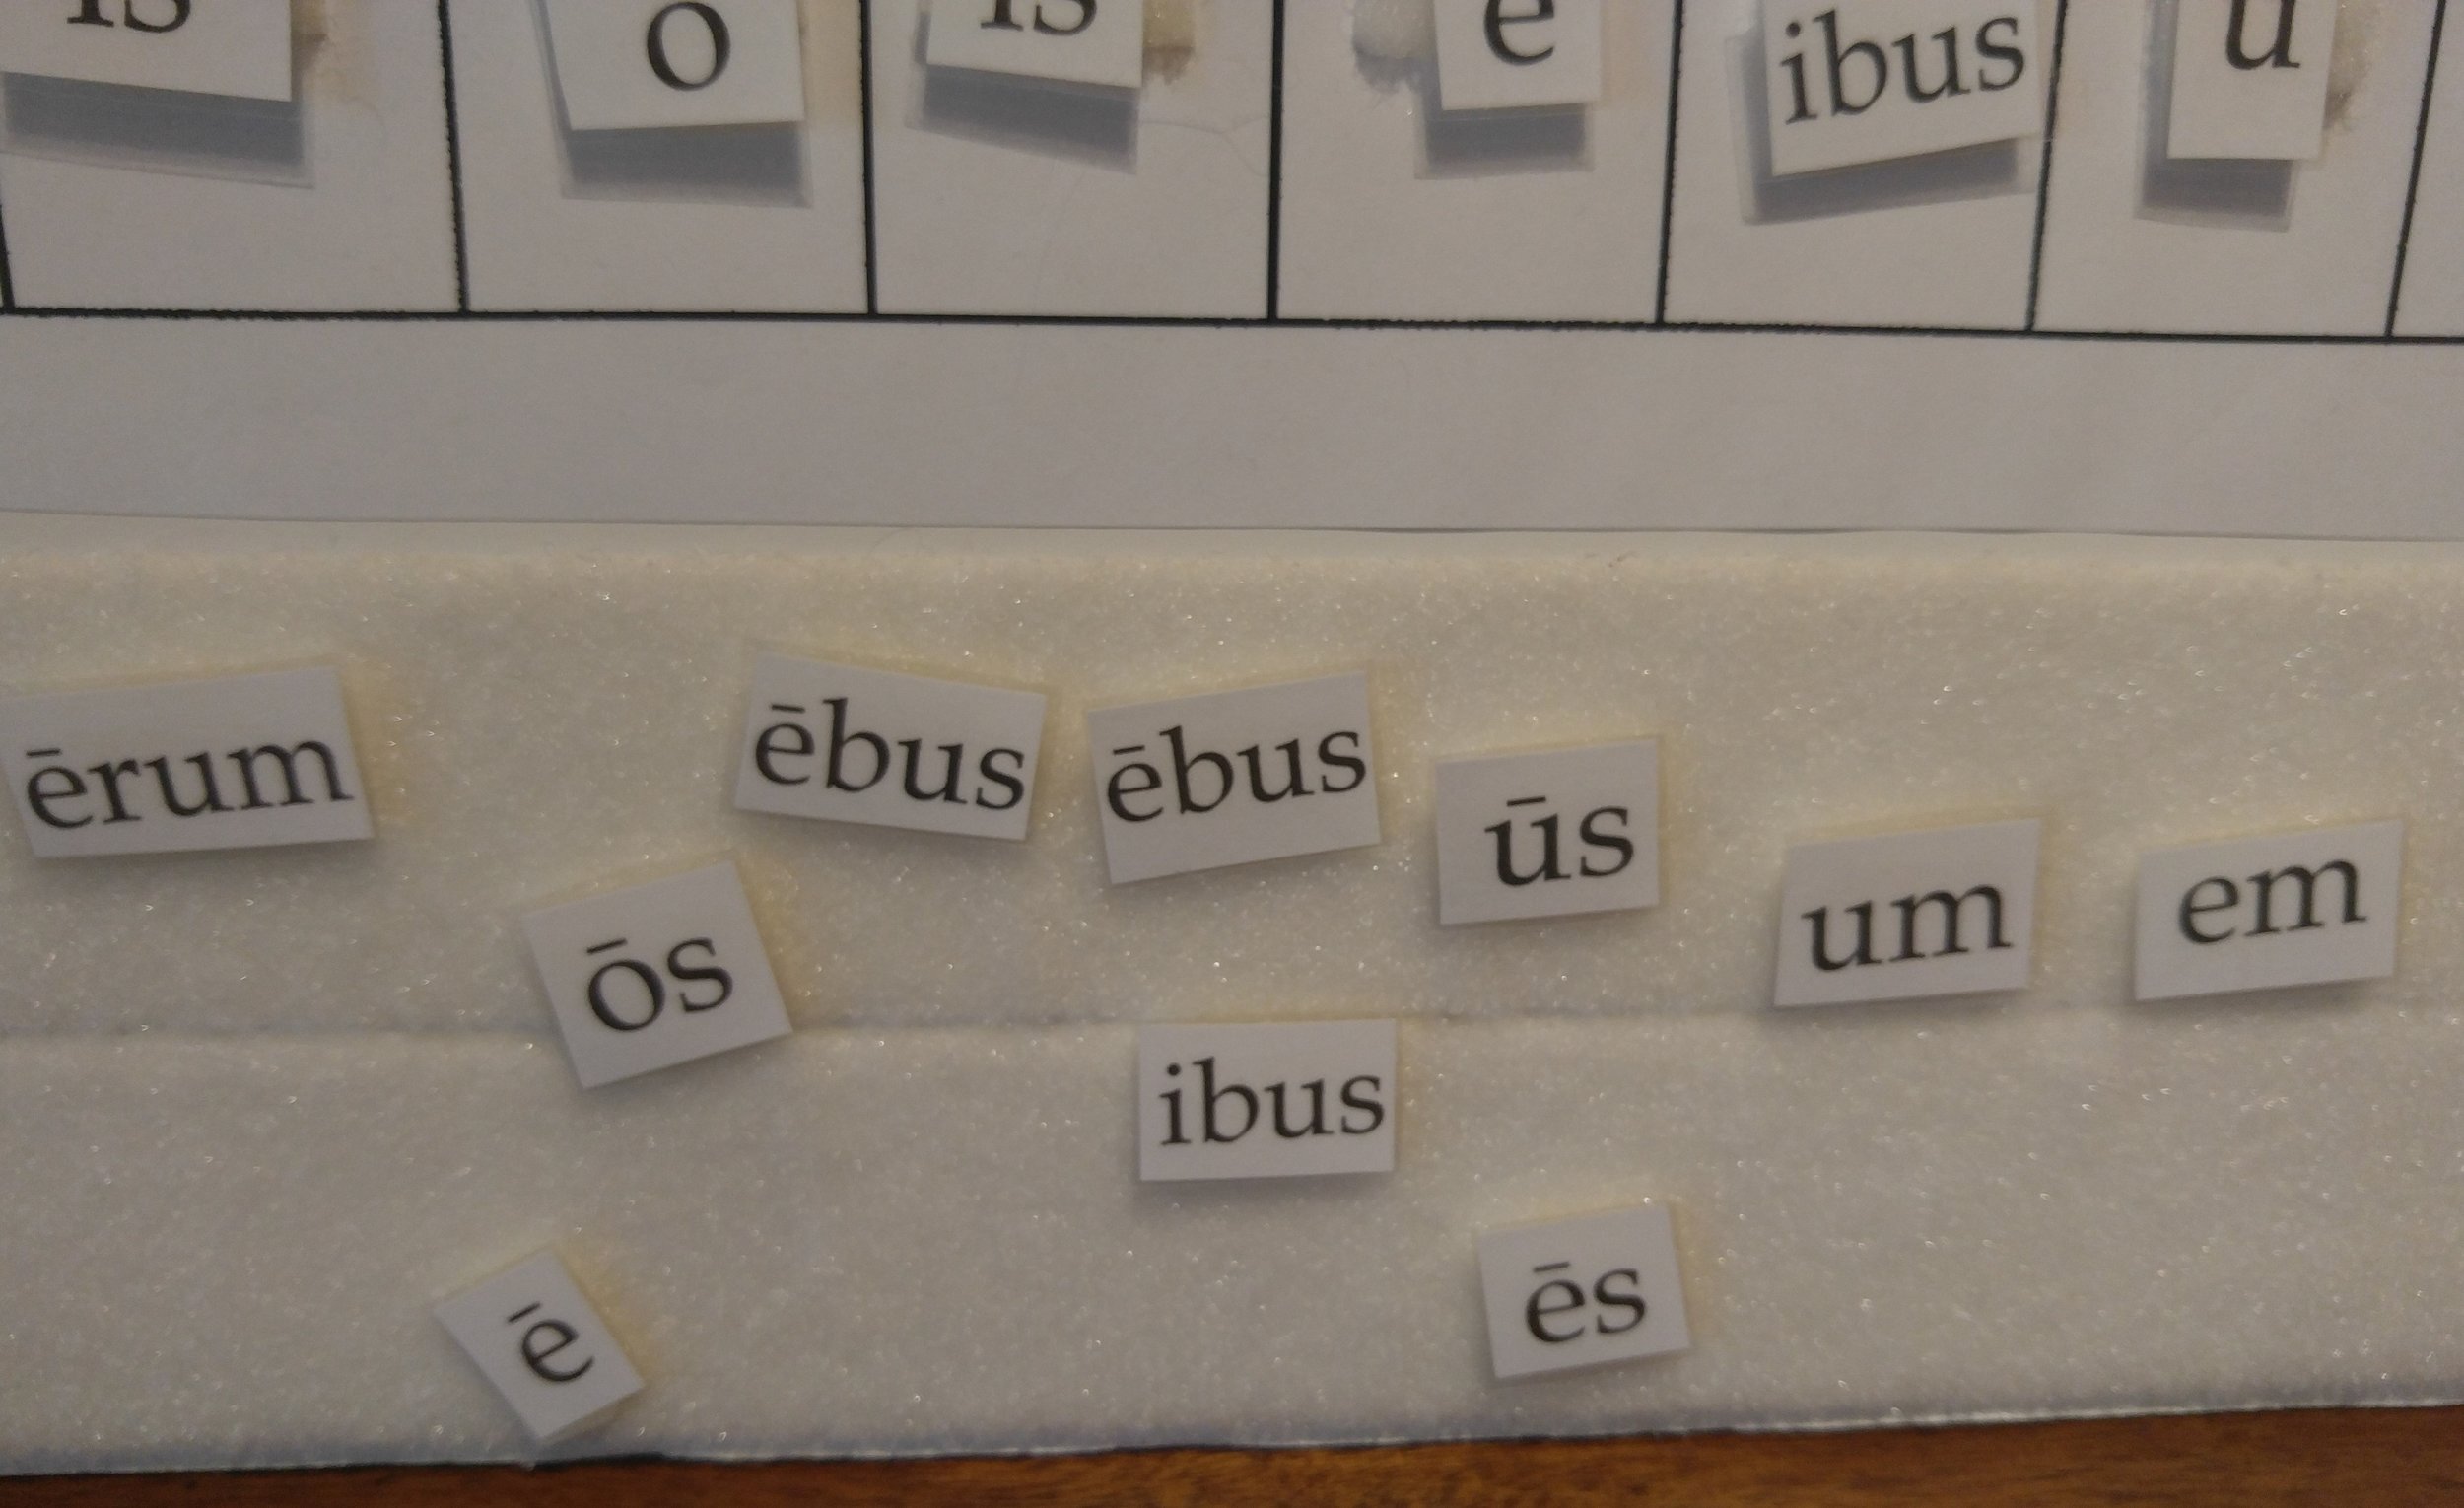
This photo shows my two strips of soft velcro attached to the board just below my chart. You may want to position your "holding space" differently.

Next, I like to print out all my endings and cut them out. I lay them all out on the board to make sure they fit. You could enlarge them or shrink them as needed to fit your chart. I laminate them and cut them out a second time. It makes for a very sturdy piece. You might be able to skip this step if your lamination works differently than mine. I like the firm edges the heat gives to my pieces. In this photo you can see how each block get a soft piece of velcro attached.

Each ending piece gets a rough section of velcro attached. See the edge of lamination.

Lastly, I print and laminate the answer key and attach it to the back of the board on all four corners. Soft Velcro always goes on the board

Here is the back of the board with answer key attached. See, I didn't even bother to remove the foam core sticker.

You can simply mix up all the endings and have a student organize them correctly and check their work. Or you could take all the pieces off the board and hand them out to students to place on the board or draw them out of a bowl or bag to place them on the chart. You could assemble the chart correctly and remove a piece and ask the student what is missing. You could assemble the chart incorrectly as ask a student to find the problem. Many many possibilities for fun practice and review.
Don't forget - Go to my shop and download charts and endings FOR FREE! I would love to know how it turns out!